How do I install my photo cartridge?
-
Do the following:
Note: When installing the photo cartridge, make sure both sides of the cartridge are even with the back of the case. If one side sticks out slightly, as shown below, the printer may have printing problems, or the cartridge may leak or may not be recognized by the printer.- Shake the cartridge four or five times while it is still wrapped in its packaging.

- Unwrap the cartridge.
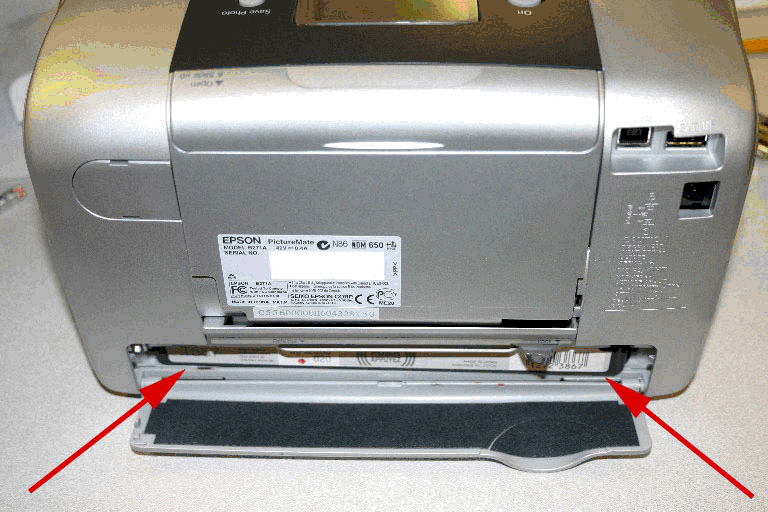
- Make sure the lever is in the release position as shown below. Then push in the cartridge, label side up. Push the center of the cartridge (shown below) until it latches. You may hear two clicks as each side of the cartridge latches into place. Lever in the release position.
- Move the lever to the Lock position by sliding it in the direction shown. If you are having trouble getting the cartridge to lock in, hold the cartridge in place while you set the lever.

Caution: Don't touch the circuit board or remove the label. Install the photo cartridge immediately after you remove it from its package. If you leave a cartridge unpacked for a long time before using it, normal printing may not be possible.
Area to push when installing ink cartridge.
(Click image to enlarge)
This photo shows the cartridge installed incorrectly. The cartridge is at a slight angle. (Click image to enlarge) - Shake the cartridge four or five times while it is still wrapped in its packaging.
Was this helpful? Thank you for the feedback!